
How to improve your travel photography - 13 tips for better photos

No adventure is complete without an overload of photos, so let’s get into how to improve your travel photography with 13 tips that will make your travel photos stand out.
1. Create mood boards
We always start by researching things to do in our travel destinations and use Pinterest or Instagram to create our own mood boards. Look for photos that capture the style, colors, angles, and compositions you love. We usually have a BIG list with photo inspiration and look at it before and during the photoshoot.
NOTE: don’t just copy others, use their ideas to create your own :)
PRO TIP: You can also use Frame Set, it’s a database with thousands of frames from commercials, movies, and music videos to get you inspired.
2. Write a shot list
Before doing an activity we always like to create a shot list on our notes app that we can check off as we go. Use your mood boards for inspo. Having a list makes sure you don’t leave a place you will likely never visit again only to forget about certain shots you would have loved to have. We try to get a good mix of close-ups, medium, and distance shots.
3. Composition
Rather than just grabbing your phone and taking a photo from eye level like everyone else, pay attention to how you frame your photos. Use leading lines, symmetry, and interesting angles to create unique compositions.

4. Light
Get up early and stay late for sunrise and sunset. These times of day, during golden hour, provide the best natural light for photography. Instead of planning a shoot in the midday with harsh light which creates a lot of contrast, the light during golden hour is soft and warm. Waking up early for sunrise is also the best way to avoid having many people in your images.
(Article continues after this 👇)
(Back to the article 👇)
5. Batteries and SD cards
The worst thing when doing travel photography is finding beautiful places to shoot but realizing your camera is out of battery or your SD card is full. We always bring extra batteries and SD cards.
6. Lenses - when to use which lens
Different lenses are for different types of photography. Use a wide-angle lens for landscapes, a telephoto lens for distant subjects, and a prime lens for portraits. Learning how and when to use which lens, will significantly improve your photography. We created a list of our entire gear list if you want to learn more about our photo - and videography setup.

7. Foreground
Including something in the foreground of your photos adds depth and makes them a lot more interesting. Look for rocks, flowers, leaves, or other objects to add to the foreground to create photos that are more unique. It’s an easy hack to make every photo look more professional.
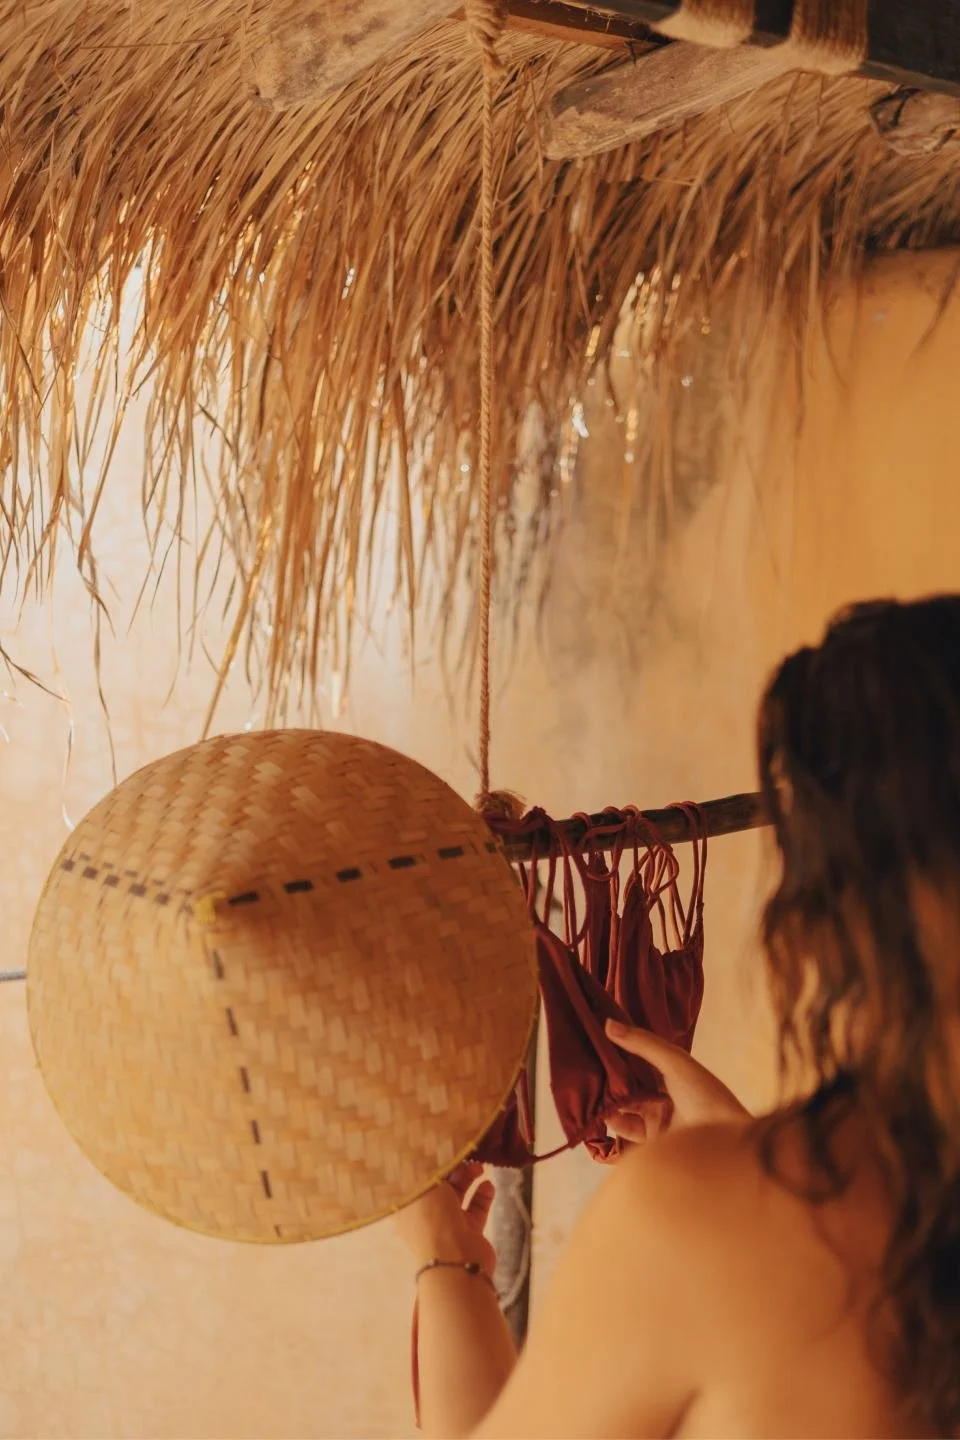
8. Outfits
This is a lesson we learned way too late in our photography journey. Thinking about what you’re wearing when taking travel photos and coordinating your outfit with the surroundings can make your photos look a lot more cohesive. Try wearing opposite colors. For example, if your surroundings are green, wear orange. If your surroundings are blue, wear red. Also, you can never go wrong with a white outfit.

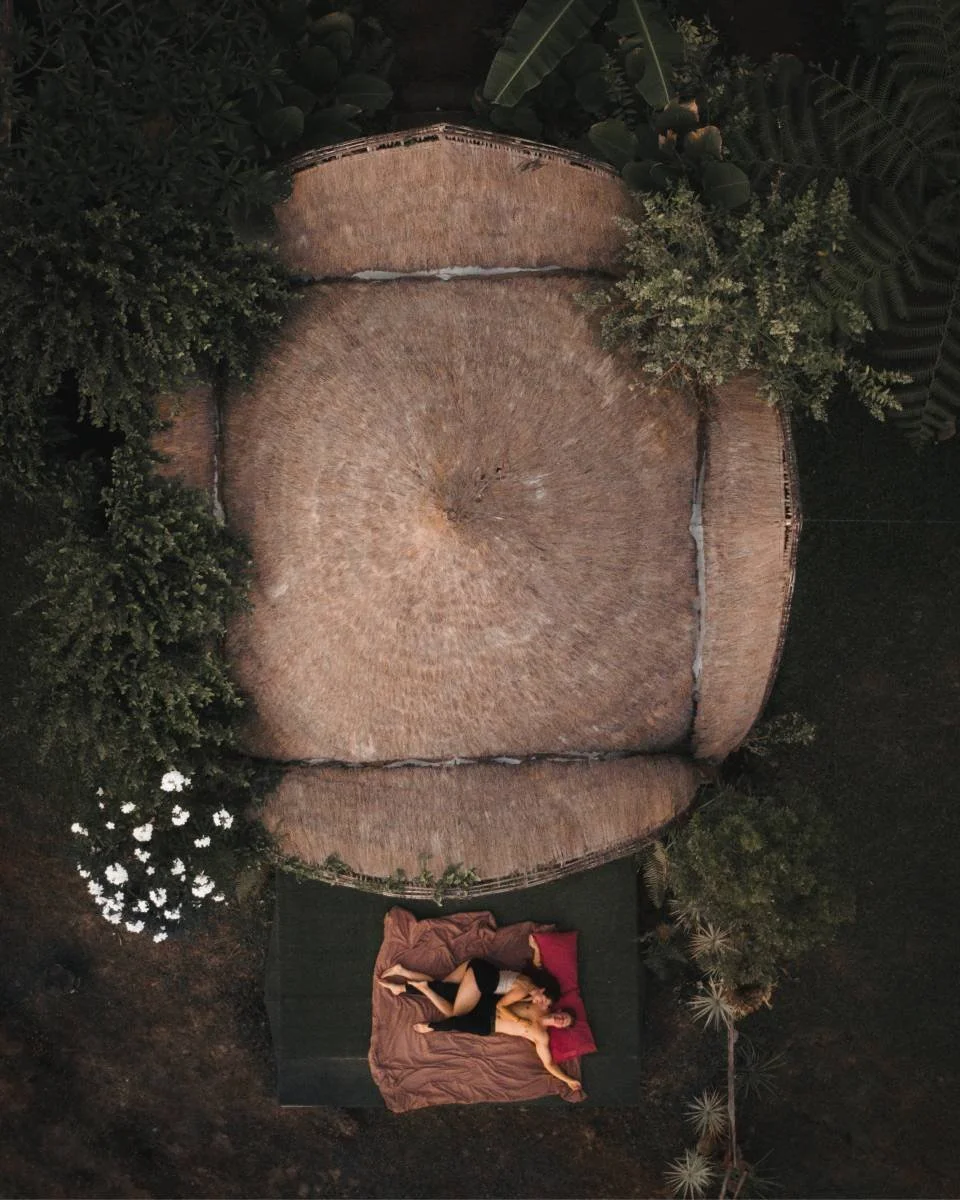
9. Perspectives
Don’t be scared to change your perspective. We like to fly our drone to get an aerial perspective. With a camera, try something different than eye level. Get low to the ground or find a high point to capture a unique angle. Mirrors, windows, and reflections are also a great way to make something more interesting.
10. How to take photos of yourself without a photographer
Use a self-timer and a tripod to take photos of yourself without needing someone else to take the photo. Many cameras have an app you can download to get a live view of what your camera sees, plus it allows to you change the focus of the camera and take the picture. Remote shutters are also helpful for taking photos from a distance.
Our camera is able to be in Interval mode, meaning it takes a picture every second. We change the settings so that it continues doing this forever, and we start shooting. This way you don’t have to reset the camera the whole time. This is how we create all of our couple photos when we travel. For more information about the specific tripod, and camera gear we use, here’s a link to our gear list.
NOTE: if you’re a couple, have one person pose while the other focuses on the camera. This helps a lot to prevent any unfocused images or in case your camera isn’t great at autofocusing.
PRO-TIP: you can also use your drone as a way to take pictures of yourself without anyone to help you. Just remember to hide the remote behind your back while you’re taking pictures.


11. Rule of thirds
Use the rule of thirds to improve your composition. You can often add a grid in camera so your photo is divided into nine parts by two vertical and two horizontal lines. When you place your subject along these lines or at their intersections, your photos will be more balanced and interesting.
12. Camera settings
There are a few settings you need to understand that will significantly improve your photography. ISO, shutter speed, aperture, and file formats. Here’s an overview:
ISO: this is how much light your camera adds to your photos
Keep this as LOW as possible, the higher you put it, the more grainy your footage will look. If you have a low-quality camera keep your ISO below 800 and if you have a higher-quality camera you can put it higher. With our high-quality camera, we try to keep our ISO below 6400 (only for exceptions, we go higher).Shutter speed: this is how fast your camera shutter moves
Slow shutter speeds (such as 1/30 or below) mean that the shutter is open for longer, meaning there will be more light hitting your sensor and your photo will have more motion blur. Fast shutter speeds (such as 1/250 or up) mean the shutter is open for a very short time, meaning that there will be less light hitting your sensor and your photo will look sharper.Aperature: this is how wide the “eye” of your camera is open
A low aperture (such as F1.8) means that the “eye” is open very wide, meaning a lot of light hits your sensor. Another effect of having a low aperture is that a lot of depth is added to your photo, which basically means that the thing you don’t focus on (background or foreground) becomes very blurry. If you have a high aperture (such as F16), you only get a little light that hits your sensor and you’ll have very little blur in your images.File formats: this is how your photos are saved
Most cameras automatically save photos as JPEGs. But, if you want to be able to enhance your photos after the shoot through editing, we recommend shooting in RAW rather than JPEG. This allows you to create better edits because RAW contains more image data.
NOTE: some cameras allow you to shoot in RAW and JPEG at the same time. RAW images look very flat out of camera because they need to be edited, while JPEGs should look good right out of camera. This setting is great for people who want to post, share, or show your images without any editing, while still keeping the option to edit the images in high quality.
Playing around with these is how you create unique and artistic photos.
13. Editing
This is where finding your unique style really happens. Use photo editing software like Adobe Lightroom or Photoshop to improve your photos post-production. We often start with a preset and tweak each image from there.
Protip: Many beginner photographers tend to over-edit. We were definitely guilty of doing that as well in the beginning of our photography journey. By now, we learned that the best photographers keep it natural and only push an image to it’s boundaries once they learned to do it for a good reason.
Some of the links in this post are affiliate links, meaning, at no additional cost to you, we will earn a commission if you click through and make a purchase. We only add links to products and services we are enthusiastic about and the income goes to keeping this blog updated and free for everyone.